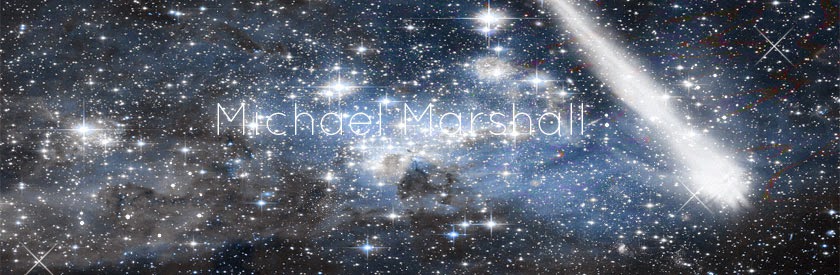
I started by using the software Adobe Photoshop I began by opening a new project I set the page, height 275, width 840 and set it onto pixels. We were given a variety of themes for the background I chose a space themed one and a water themed one.
I began by blending the pictures, Photoshop gave a variety of choices I chose the exclusion option which took the colour's from the water shot and brightened up the space shot the stars on the picture became brighter.
After I had blended the themes I was given a selection of brush packs I had chosen a few such as stars, vortex and dragons. I uploaded each brush pack individually and started to experiment with them. The ones I focused on using were the stars pack.
After adding some brush templates I wanted to tweak them I added effects, I had added outer glow which gave me a variety of options to edit the outer glow I had changed the brush colour to white and the outer glow to light blue, I started tweaking on the radius of the outer glow.
Once completed editing the outer glow I went onto a sight called FontSquirrel which allows people to take their fonts and use them for their own purposes I found a font called Quicksand which was quiet a thin font.

When I completed the text I did some last minute editing I had added a meteor and attached an outer glow with a wide radius on the glow.

When I completed my banner I put it as a header on the top of my blog.
No comments:
Post a Comment